I’ve been super crafty recently, and since there are only 4-5 days until Christmas (depending on how you count), I thought I would share the DIY gift bags that I made! They’re fairly simple, and I think they look like something that you would buy in a store for a pretty penny…or two (or three or four hundred).
Note: Please forgive me for the bad quality iPhone photos. My 5 year old camera would not be any better than these.
Stamped Design
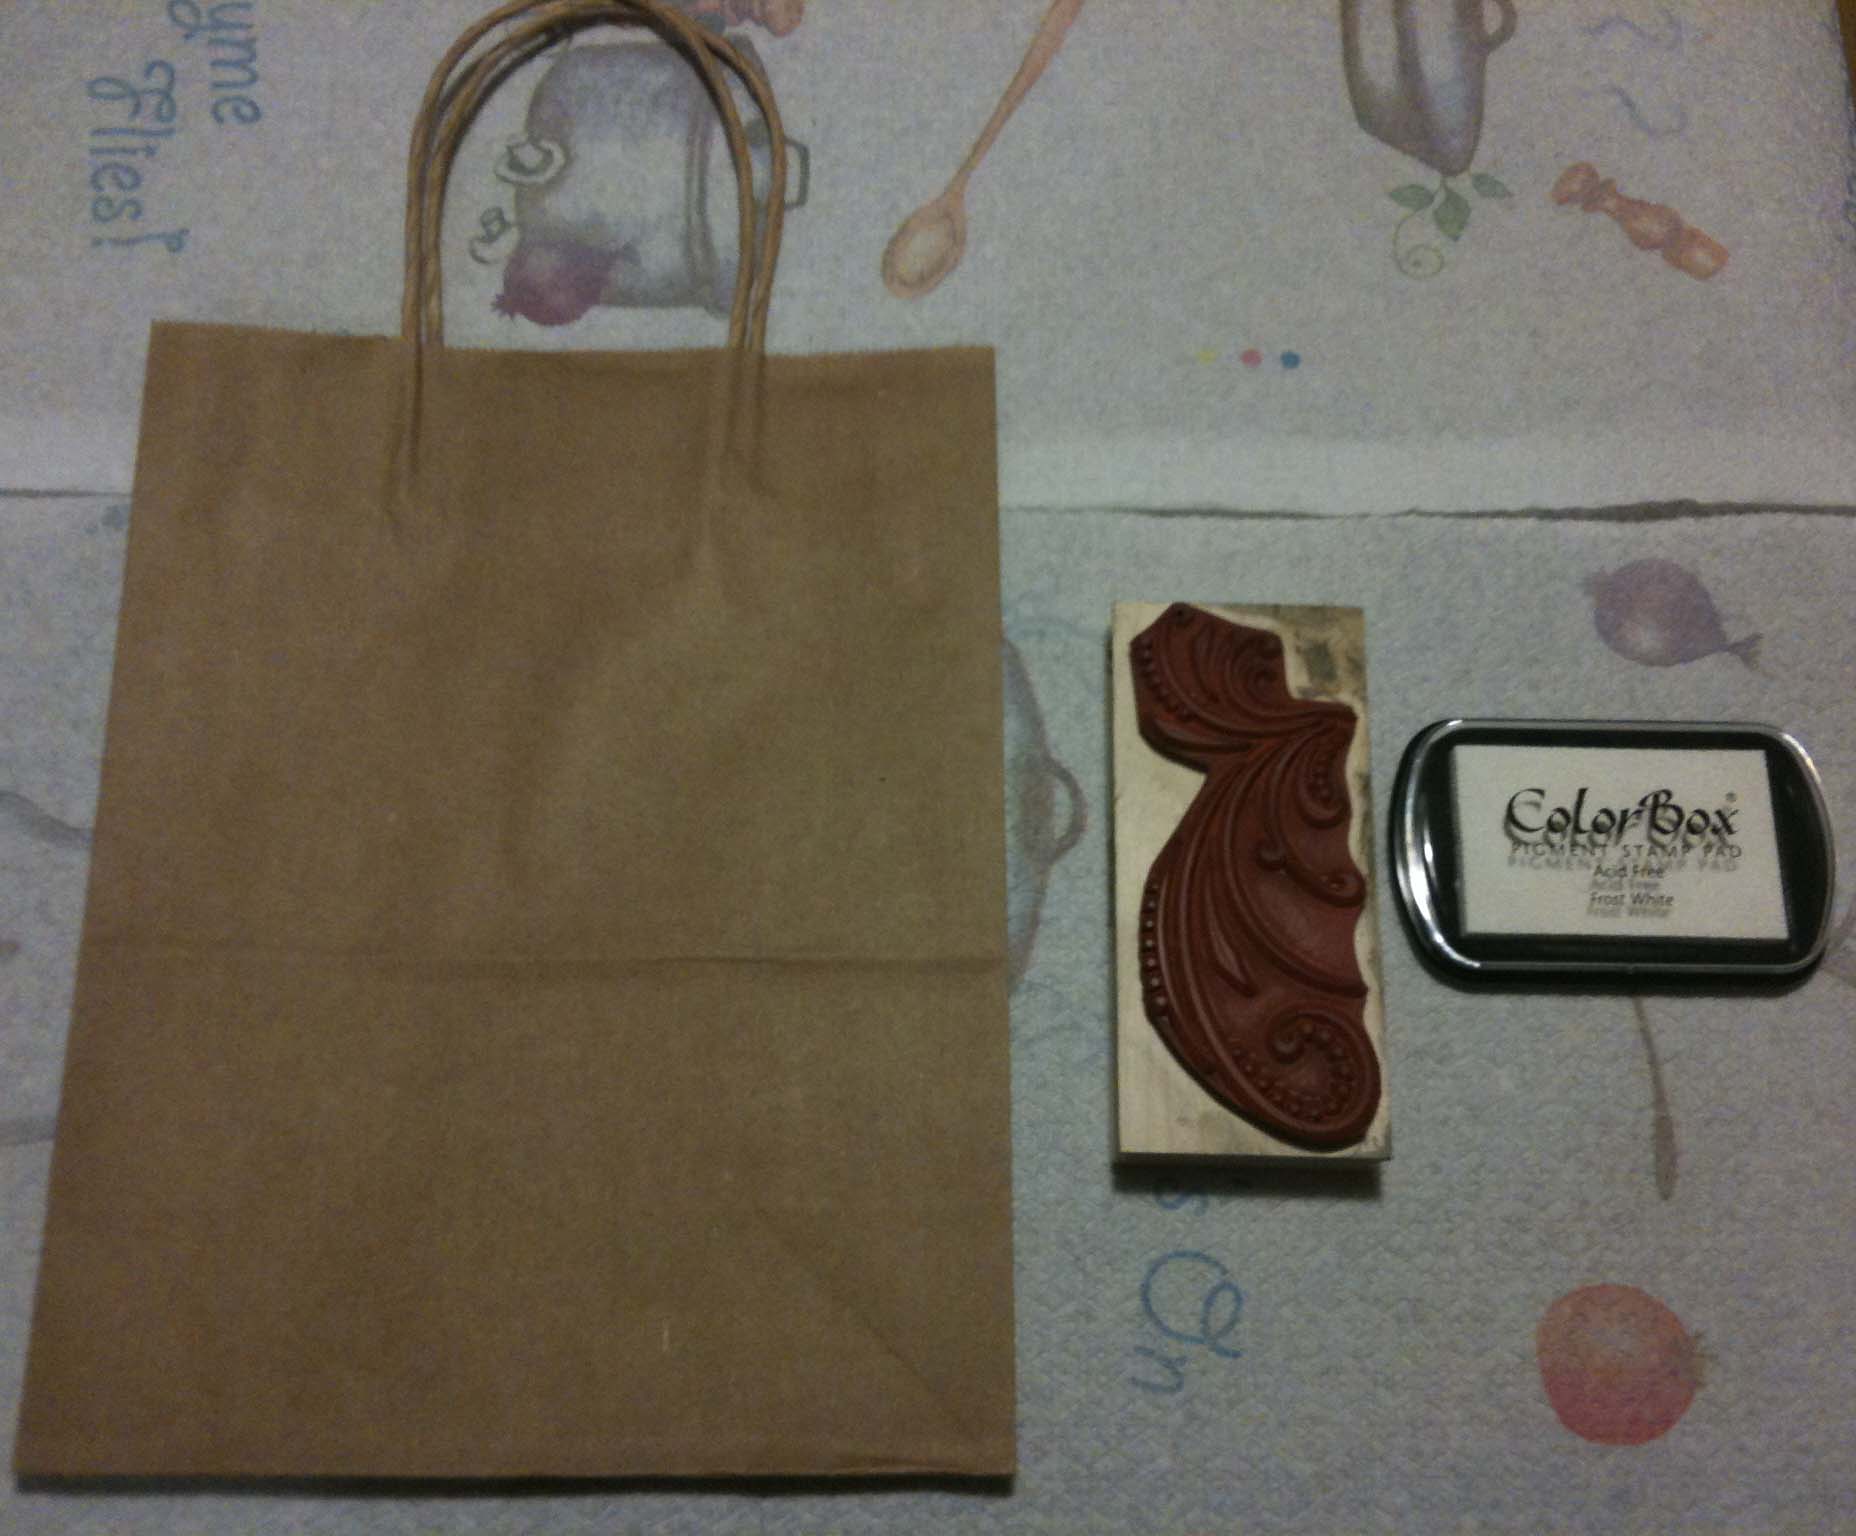
Materials Needed:
- – Gift bag (Kraft paper works best to absorb the ink)
- – Your choice of stamp design(s)
- – Your choice of ink color
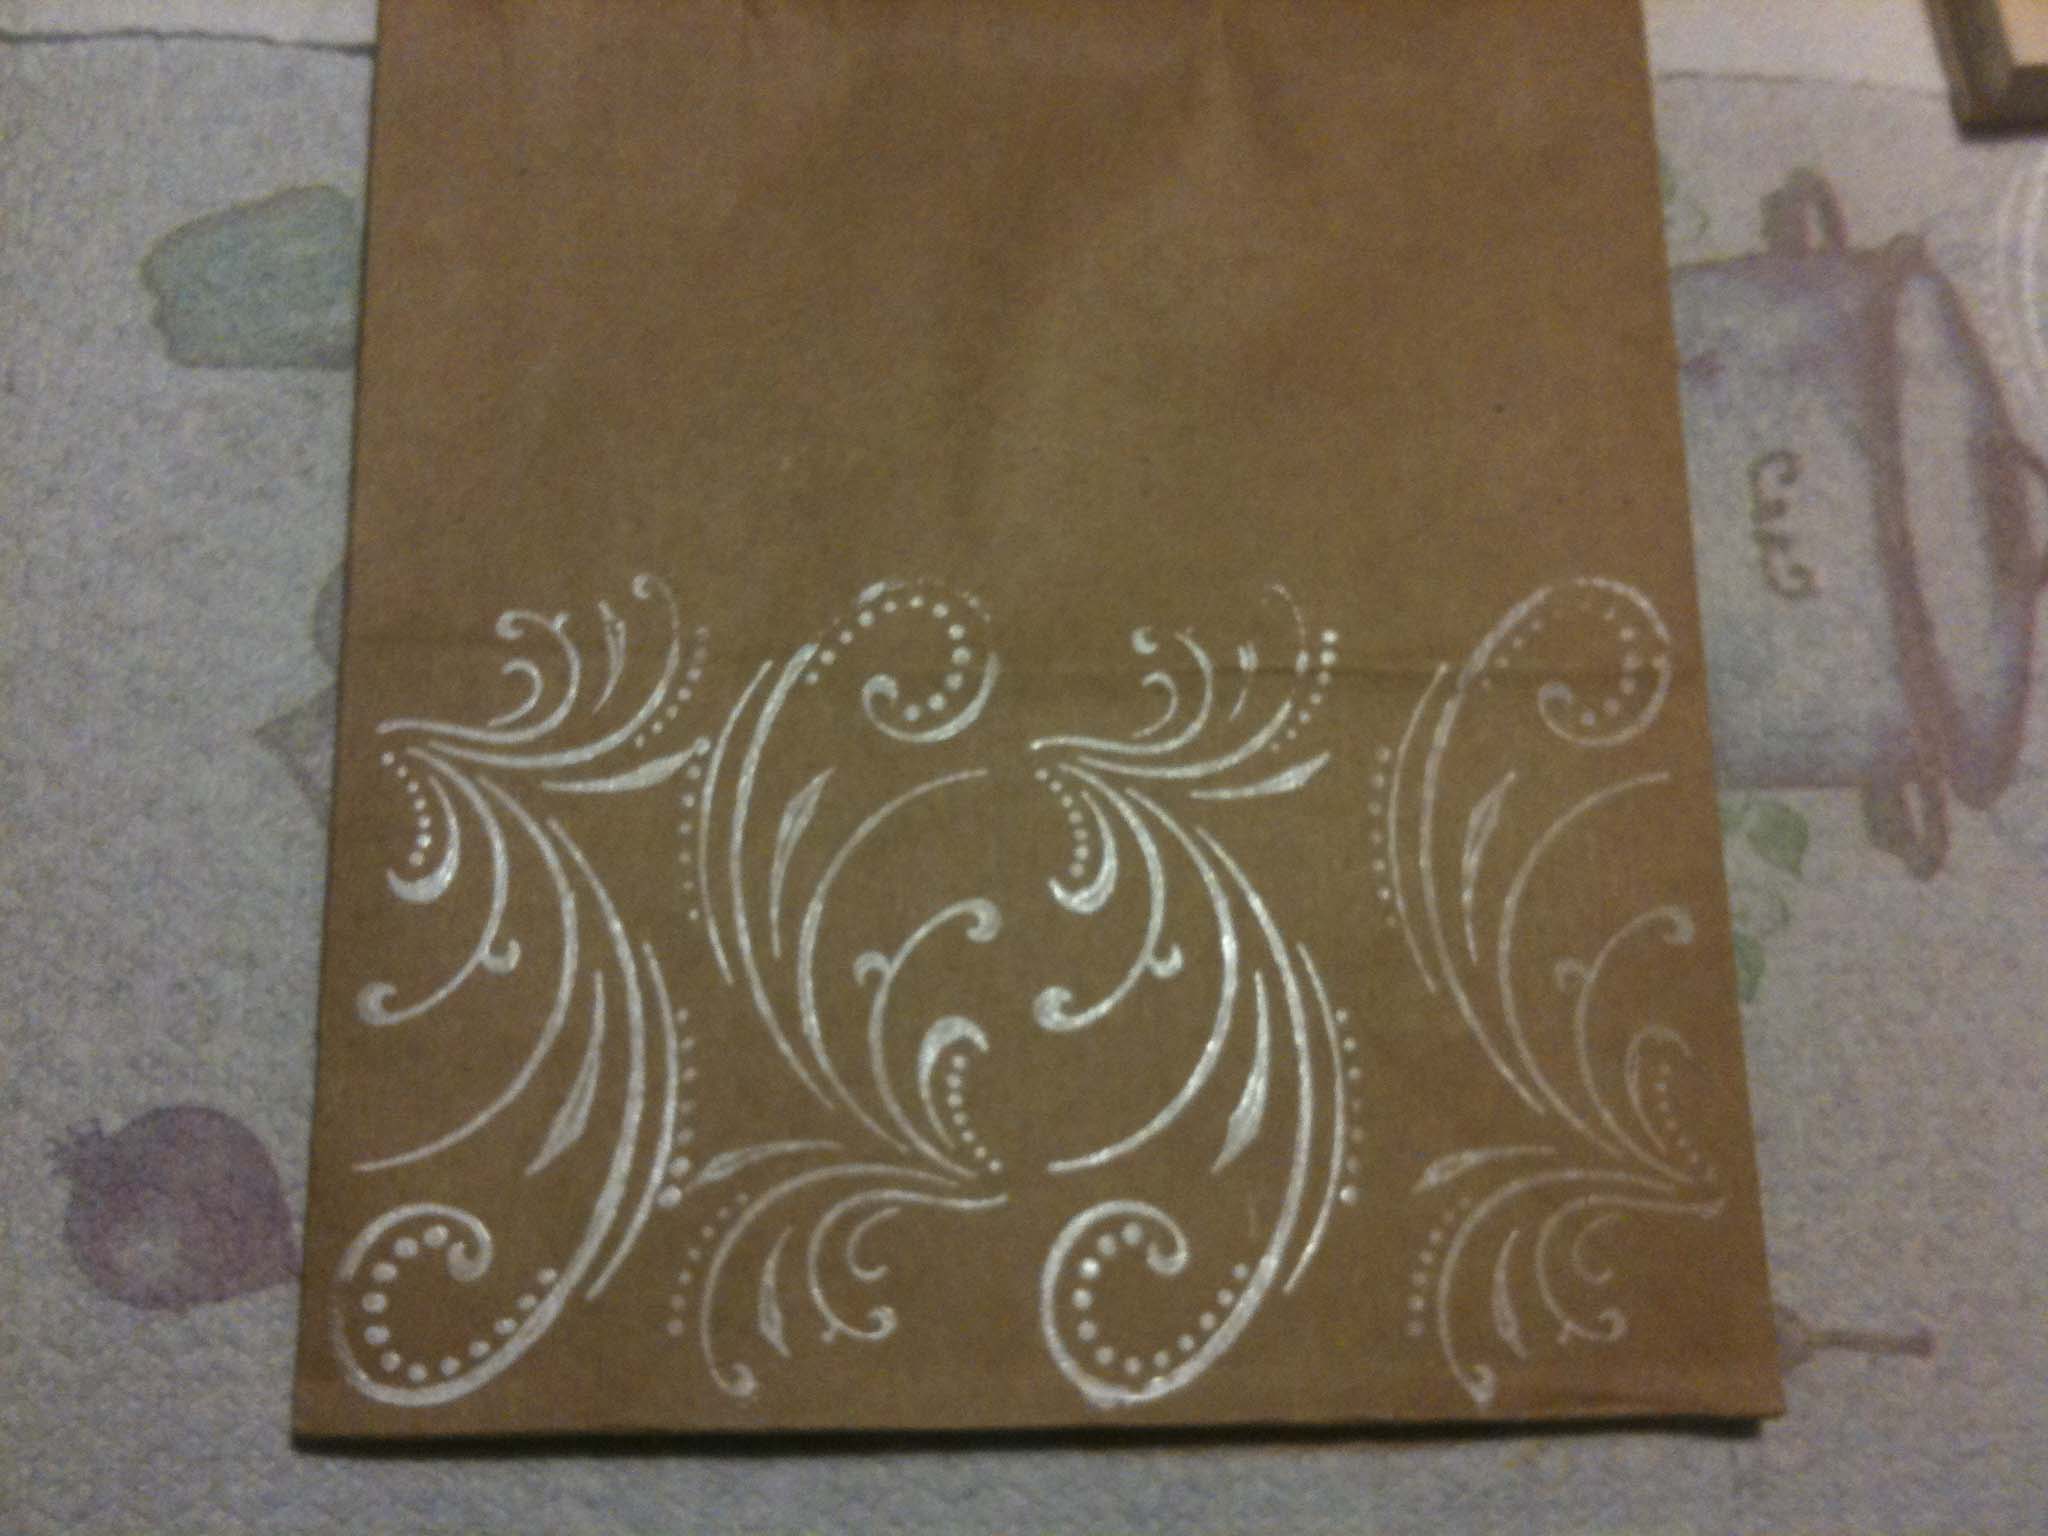
Step 1: Decide how you will be positioning the stamp. In this case, I used one stamp, and just alternated the direction that I stamped in.

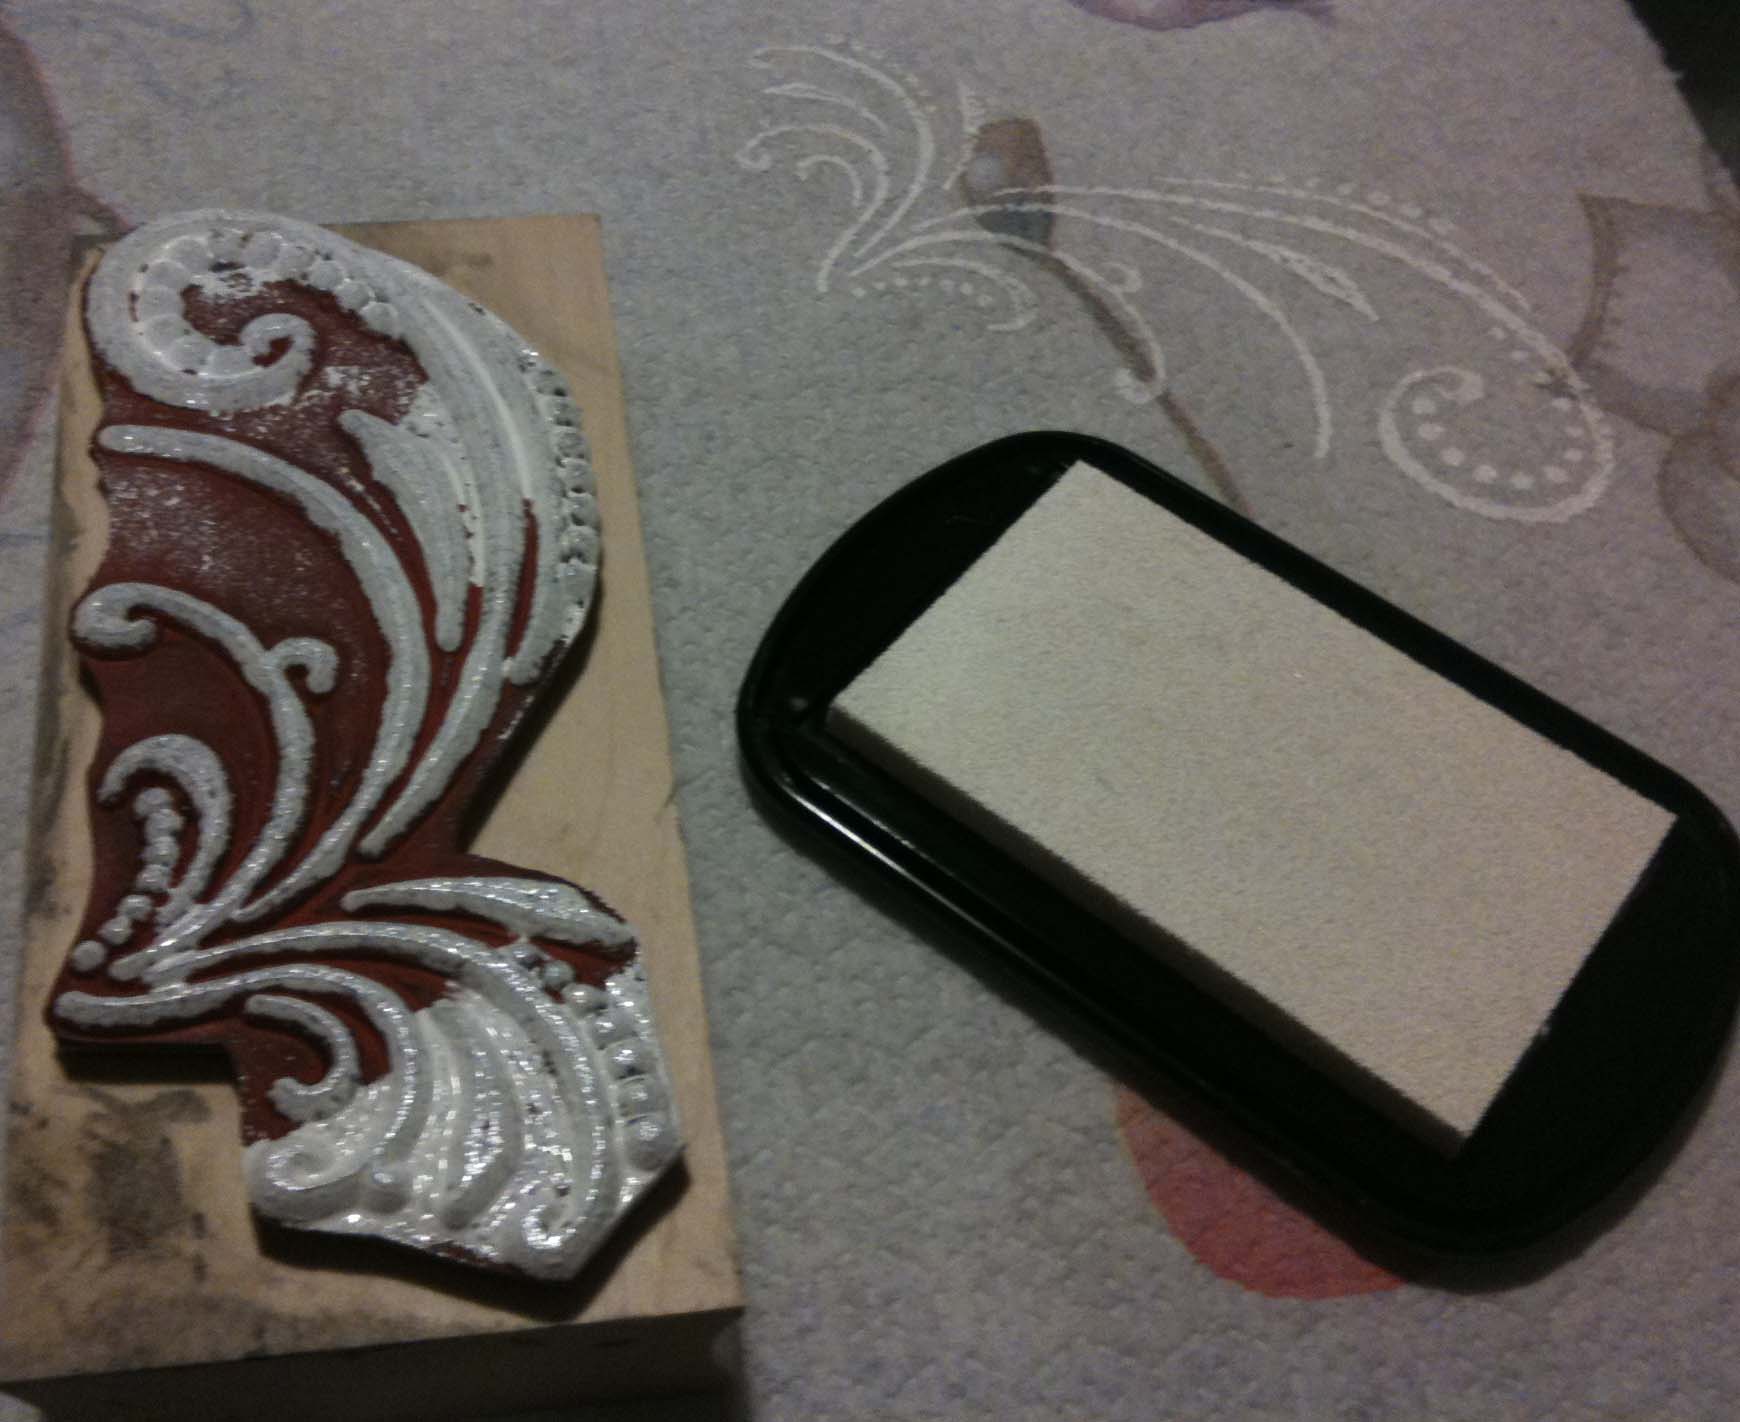
Step 2: Ink your stamp, making sure there is enough, but not so much that it will bleed. You can test the stamp on a piece of paper or paper towel if you would like.

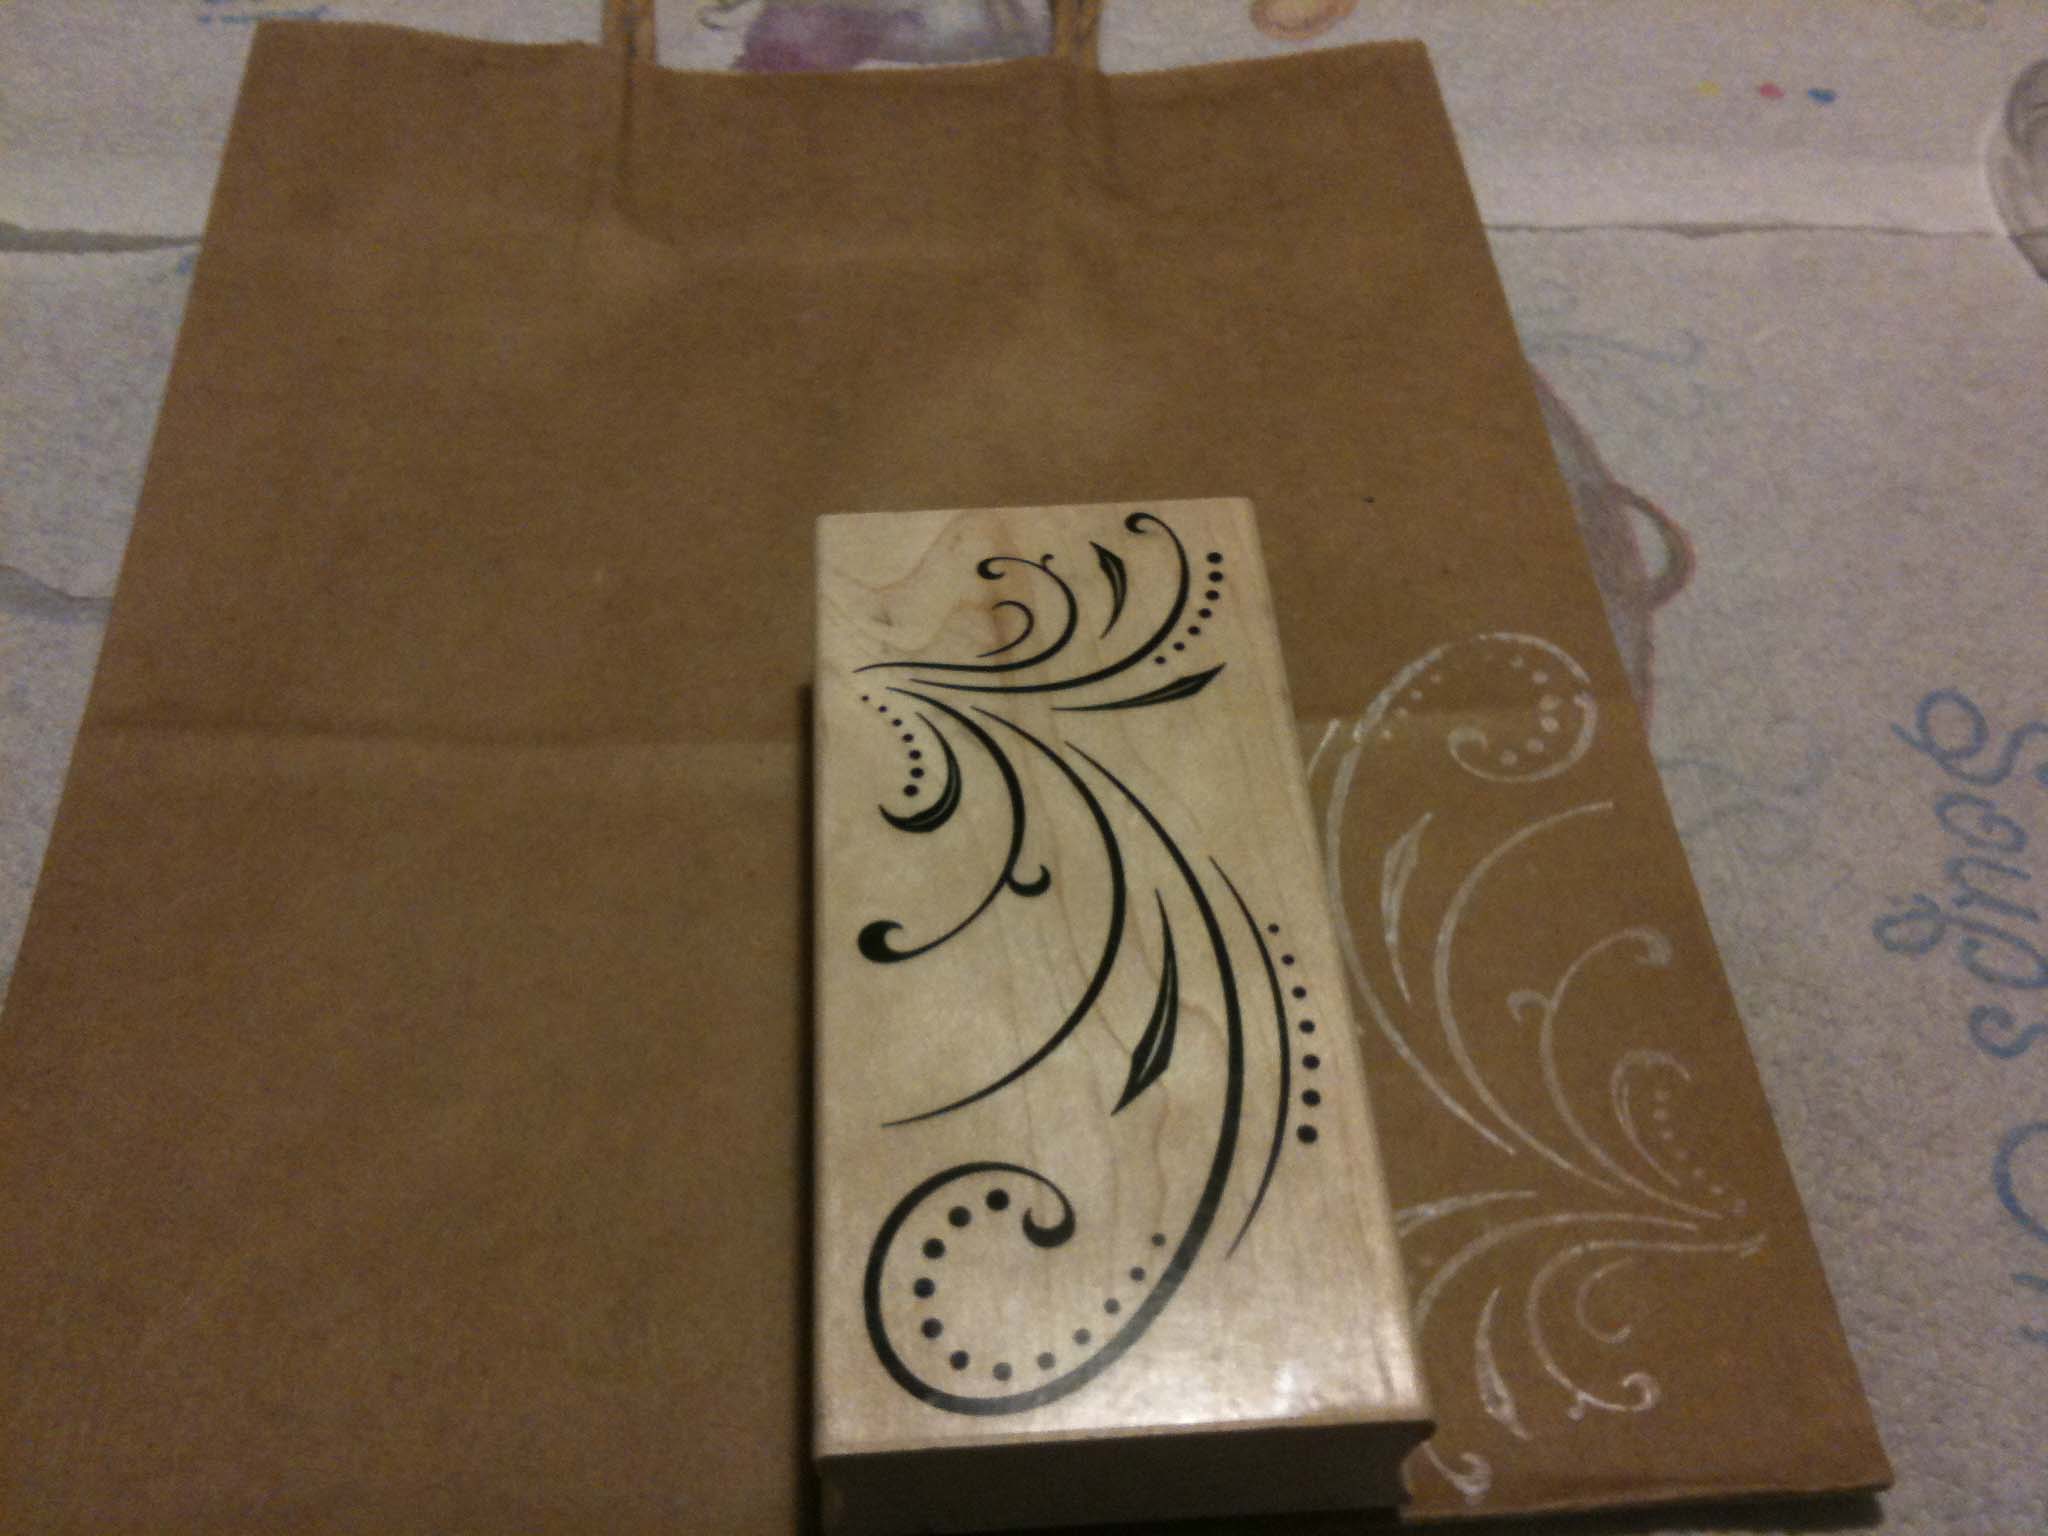
Step 3: Use the corner of the bag to help you line up the stamp. Press the stamp down firmly and lift. Repeat in your choice of direction and pattern!

Step 4: Let the first side dry (5-10 minutes) and repeat steps 2 and 3 on the opposite side!

Voila!

Stencil Design
Materials:
- – Gift bag (again, Kraft paper is preferred)
- – Your choice of paint color
- – Your choice of stencil(s)
- – Stencil brush
I’m a HUGE fan of damask (in case you couldn’t tell by the background of the blog), so I chose a damask stencil for this bag. This bag involves a bit more time and positioning than the stamp design bag. Using some sort of stencil brush or a spongy brush works best so the paint doesn’t bleed under the stencil. You are not able to use spray adhesive because the paper will tear.
Step 1: Decide what the positioning of your stencil(s) will be. If you have to, trace some of the stencil on the bag to give you a better idea of where each portion will end up.
Step 2: Blot the paint on your brush prior to stenciling. Hold the stencil down in position as best as you can. You can use tape on the sides if you wish. Be sure not to put the tape directly on the bag. In a blotting motion, fill in the stencil with paint. You can also use a brushing motion, whichever your prefer. I found that both methods work just fine.
Step 3: Carefully lift the stencil and place in the next corner. Repeat step 2.
Step 4: Move to the next corners of the bag.
Step 5: Wait about 5-10 minutes for the corners to dry. Stencil the center, the sides, and the corners of the bag.
Step 6: Wait for the first side to dry completely before attempting the other side. (I think there’s enough prettiness on the first side, so I didn’t do the opposite side.)
They’re not perfection, but adding that special DIY touch to a gift will make the recipient feel so special! Definitely perfect to put your wedding party gifts in too! I gave my sister-in-law one of the stamped bags, and she had no idea I made it!
Lauren
Latest posts by Lauren (see all)
- Newly Engaged? 10 Steps To Start Planning Your Wedding! - January 4, 2023
- How Much Do Weddings Cost? - January 3, 2023
- What You Need To Know BEFORE You Start Planning Your Wedding - January 1, 2023


I LOVE THEM!!! They are soo cute. Great idea!